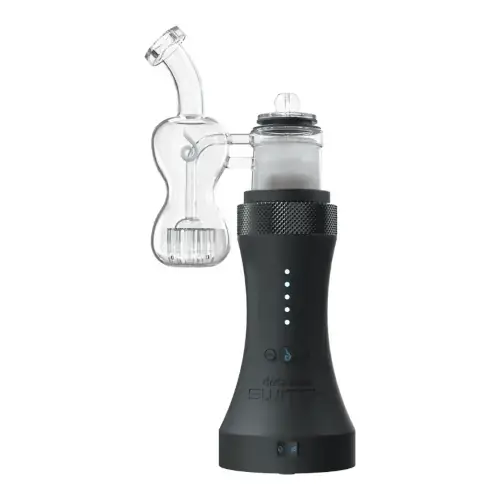
Dr. Dabber Switch Overview
Induction heated eRig that feels a little experimental in a good way
Key Features & Benefits of the Dr. Dabber Switch
What Comes with the Dr Dabber Switch?
- Dr Dabber Switch Vaporizer
- Ceramic Filter
- Charging Cable and Adapter
- Induction Cup Tweezers
- Leaf Induction Cup
- Oil Induction Cup
- Replacement Glass Attachment
- Pro Loading Tool
- Marble Carb Cap
- Battery Pack
- Carb Cap Silicone Seal
- Glass Attachment Silicone Seal
Dr. Dabber Switch Pricing & Cost Analysis
Below are approximate prices for the Dr. Dabber Switch in various different currencies. These numbers are based on the average market rate for the device and are updated as regularly as possible.
 $400 USD
 €356 EUR
 $565 CAD
 $707 NZD
 £300 GBP
Where to Buy Dr. Dabber Switch
Trying to find the best places to buy Dr. Dabber Switch online and in store? Check out our list of Dr. Dabber Switch retailers. Note that some links may be affiliates, supporting us at no extra cost to you. Compare different retailers to ensure you always get the best price for the Dr. Dabber Switch!

 Trusted
| Brand | Dr. Dabber |
|---|---|
| Chamber Material | Ceramic-Coated |
| Heating Type | Induction |
| Device Type | Desktop |
| Temperature Range | 300°F - 780°F |
| Heat Up Time | <10 seconds |
| Battery Life | Up to 100 uses |
| Charge Time | 1 - 2 hours |
| Charging Connector | Proprietary AC Adapter |
| Power Adjustment | Modular - 25 stages |
| Passthrough Charging | Yes |
| Dimensions | 9.4 x 4 x 2.35 inches |
| Concentrates | Yes |
| Weight | 37.6 oz |
| Battery Capacity | 3000mAh |
| Chamber Capacity | ~0.35g |
| Battery Type | Removable |
| Release Date | 2018 |
| Warranty | 2 years |
Dr. Dabber Switch Video
Compare Dr. Dabber Switch Against Similar Vaporizers
See how Dr. Dabber Switch compares with popular alternatives for vapor quality, portability, battery life, price, and everyday use.
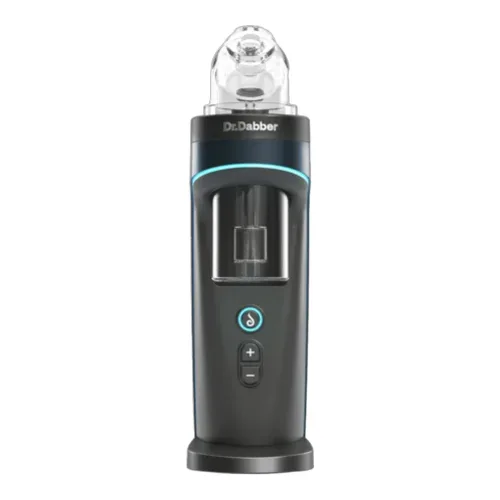 Dr. Dabber Switch vs Dr. Dabber Switch 2 Side-by-side specs and pricing context
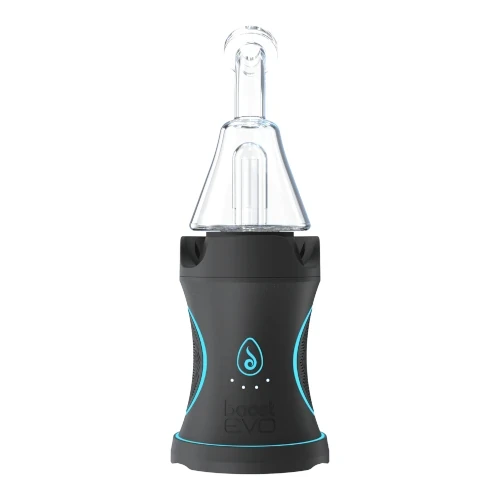 Dr. Dabber Switch vs Dr. Dabber Boost Evo Side-by-side specs and pricing context
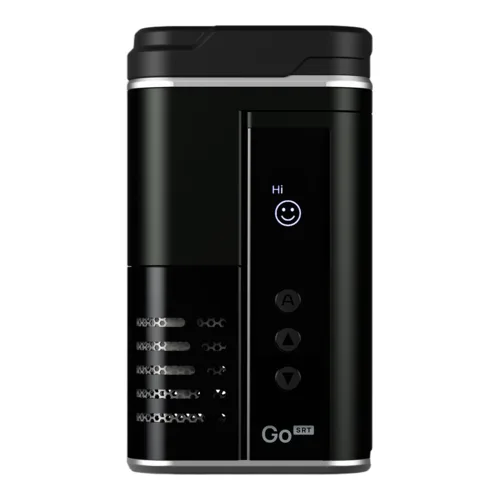
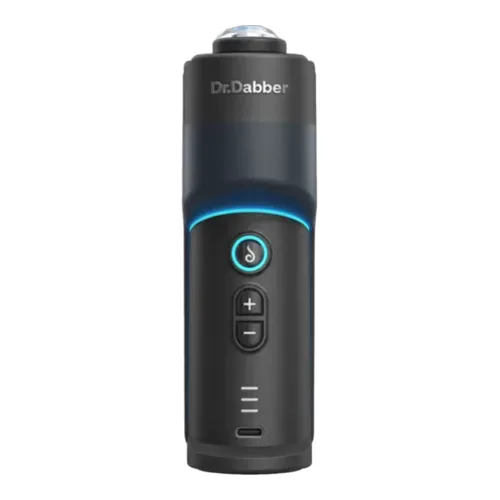 Dr. Dabber Switch vs Dr. Dabber Switch GO Side-by-side specs and pricing context
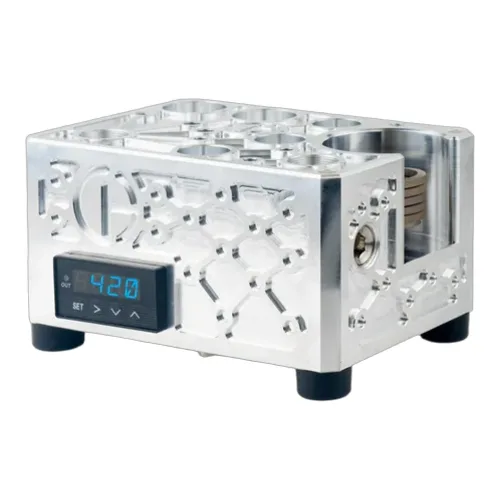 Dr. Dabber Switch vs Airstream Side-by-side specs and pricing context
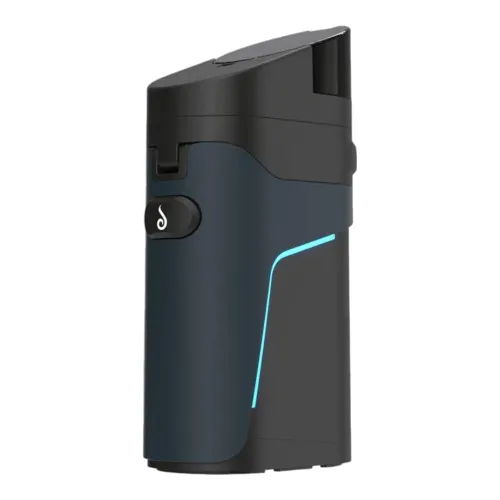 Dr. Dabber Switch vs Dr. Dabber Ghost 2 Side-by-side specs and pricing context
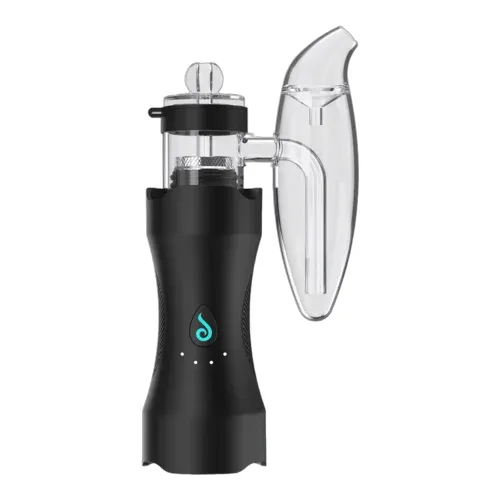 Dr. Dabber Switch vs Dr. Dabber XS Side-by-side specs and pricing context
Dr. Dabber Switch FAQs
Why does the Dr. Dabber Switch have no coil to replace?
The Switch heats by induction, so a magnetic field heats the cup while the electronics stay sealed from the vapor path with nothing to wear out. The field heats anything conductive, unlike convection or conduction designs, so use ceramic or glass loading tools.
What is the difference between the black and white cups?
Both are grade 2 titanium with a ceramic heating face and interchangeable, but the white cup is calibrated for oils and the black one for leaf. The black cup holds about 0.35 grams under the ceramic filter.
How do I reach all 25 heat settings?
Leaf and Oil modes give five power steps each. For all 25, hold (Go) with the power switch centered and flip to LEAF or OIL until the LEDs show a rainbow. Advanced Mode runs roughly 300F to 780F in twenty degree steps.
What is Crystal Mode for?
It is a separate profile for the quartz Crystal Induction Cup and other premium cups, sold separately, reached by holding (+) while powering on from Advanced Mode. Standard ceramic cups do not belong in it, and self cleaning will not run there.
How long does the Switch battery last?
Dr. Dabber rates the removable pack at up to 100 heating cycles, with a charge from low taking sixty to ninety minutes. Pass through charging works, but the unit will not run with the pack removed.
What did the Switch 2 change?
The Switch 2 moves temperature control into a phone app, offering 250F to 650F in single degree steps plus six heating modes, and swaps the ceramic cups for a quartz insert. The original goes higher, to 780F, in twenty degree jumps.
Is the Dr. Dabber Switch still supported?
The unit carries a two year warranty, but glass, induction cups and accessories are excluded and claims require sending it in for repair. Dr. Dabber no longer lists the Switch and stocks only its silicone seals, so buy spares from retailers or consider the Boost Evo.
Dr. Dabber Switch Cleaning & Maintenance
The Switch collects residue in two places: inside whichever ceramic induction cup you are running, and in the glass well beneath it, where reclaim creeps past the cup and dries. Induction heats the cup rather than a coil, so there are no contacts or wiring down there to protect, but debris under a cup still spoils how it seats and how evenly it heats.
-
Cool down and power off first. Return the power switch to the center position and wait until the cups, the glass top and the Glass Percolator Attachment are cool to the touch. Lift cups out only with the reverse action tweezers, never by hand.
-
Swab the cup after every session. Dr. Dabber's own instruction is a dry cotton swab immediately after the dab, followed by a swab dipped in isopropyl while the cup is still warm. They recommend 91 percent or stronger. This is the habit that keeps the black leaf cup and the white oil cup tasting clean.
-
Soak once swabbing stops working. Both standard cups are grade 2 titanium with a ceramic coating on the heating face and take a 10 to 20 minute isopropyl soak. The optional quartz, sapphire, SiC and AlN cups can be torched instead, using constant motion, then left to cool at room temperature rather than set down on anything cold.
-
Run the self cleaning cycle. Clear loose residue from the induction well and the underside of the cup first. Press and release (+), then hold (+) for about five seconds until the chamber lights turn purple and the red LEDs climb. It burns off what is left in the standard ceramic cups only. Never run it on a Crystal cup, and do not draw on the device while it works. A descending blue cooling cycle of one to five minutes may follow, so leave the unit powered on until that finishes.
-
Clean the glass. Fill the borosilicate percolator attachment with isopropyl, shake it hard until the staining lifts, rinse completely with water and air dry. The 50mm ground glass joint, the glass top and the ceramic leaf filter take isopropyl on a swab or wipe.
-
Reassemble dry. Every part must be fully dry before the next heating cycle. Refill water to about half an inch above the perc holes, since more than that splashes into the mouthpiece.
Replace the carb cap seal and the glass attachment seal when they harden or stop gripping. For the battery, charge from around 20 percent and unplug at full instead of leaving it on the adapter, and pull the pack from under the magnetic base plate for 30 seconds if the unit needs a reset.
Rate the Dr. Dabber Switch
Rating:
Dr. Dabber Switch Ratings
Loading Ratings...
Also from Dr. Dabber
Compare more Dr. Dabber vaporizers, reviews, prices, and specifications before choosing your next device.